This is an old revision of the document!
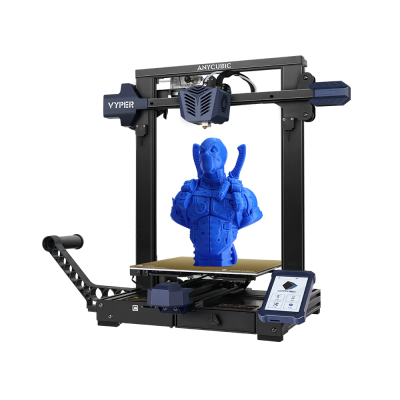
Anycubic Vyper
| QR-ID | HQR1097 |
|---|---|
| Navn | Anycubic Vyper |
| Kort beskr. | 3D-printer |
| Build Volume | 245mm(L)×245(W)×260mm(H) |
| Indehaver | Hal9k |
| Lokale | Lasergrotten |
| Tilladt brug | No hacking allowed. Kun PLA. Leave name tag on printer when in use. |
Use
The printer can either the used via an SD-card, or via Octoprint for some more advanced features.
Using SD-card
Cura has a standard profile for the Vyper. Cura on the 3D Printing PC also has this profile.
Copy GCODE file to an SD card and insert the card into the printer.
Note: GCODE files must be placed in the root directory of the SD card.
Leave a name tag on the printer when in use.
Der er pt (april 2023) ved at blive etableret Octoprint, se #octoprint på Slack.
Using Octoprint
- Cura has a standard profile for the Vyper. Cura on the 3D Printing PC also has this profile.
- Save the GCODE file to your machine.
- If the printer icon in the top bar is grey, press it to turn on the printer.
- On the left under “Status” click connect if the printer is not already connected.
- Under the files panel on the left, click on the Upload button and upload your GCODE file.
- Then select the file you just uploaded, and click on the printer icon (it has the help text “Load and Print”).
- The printer will now warm up and begin to print.
Print status is available in the #octoprint Slack channel, along with some basic controls. Try typing “@PrintBot help”.